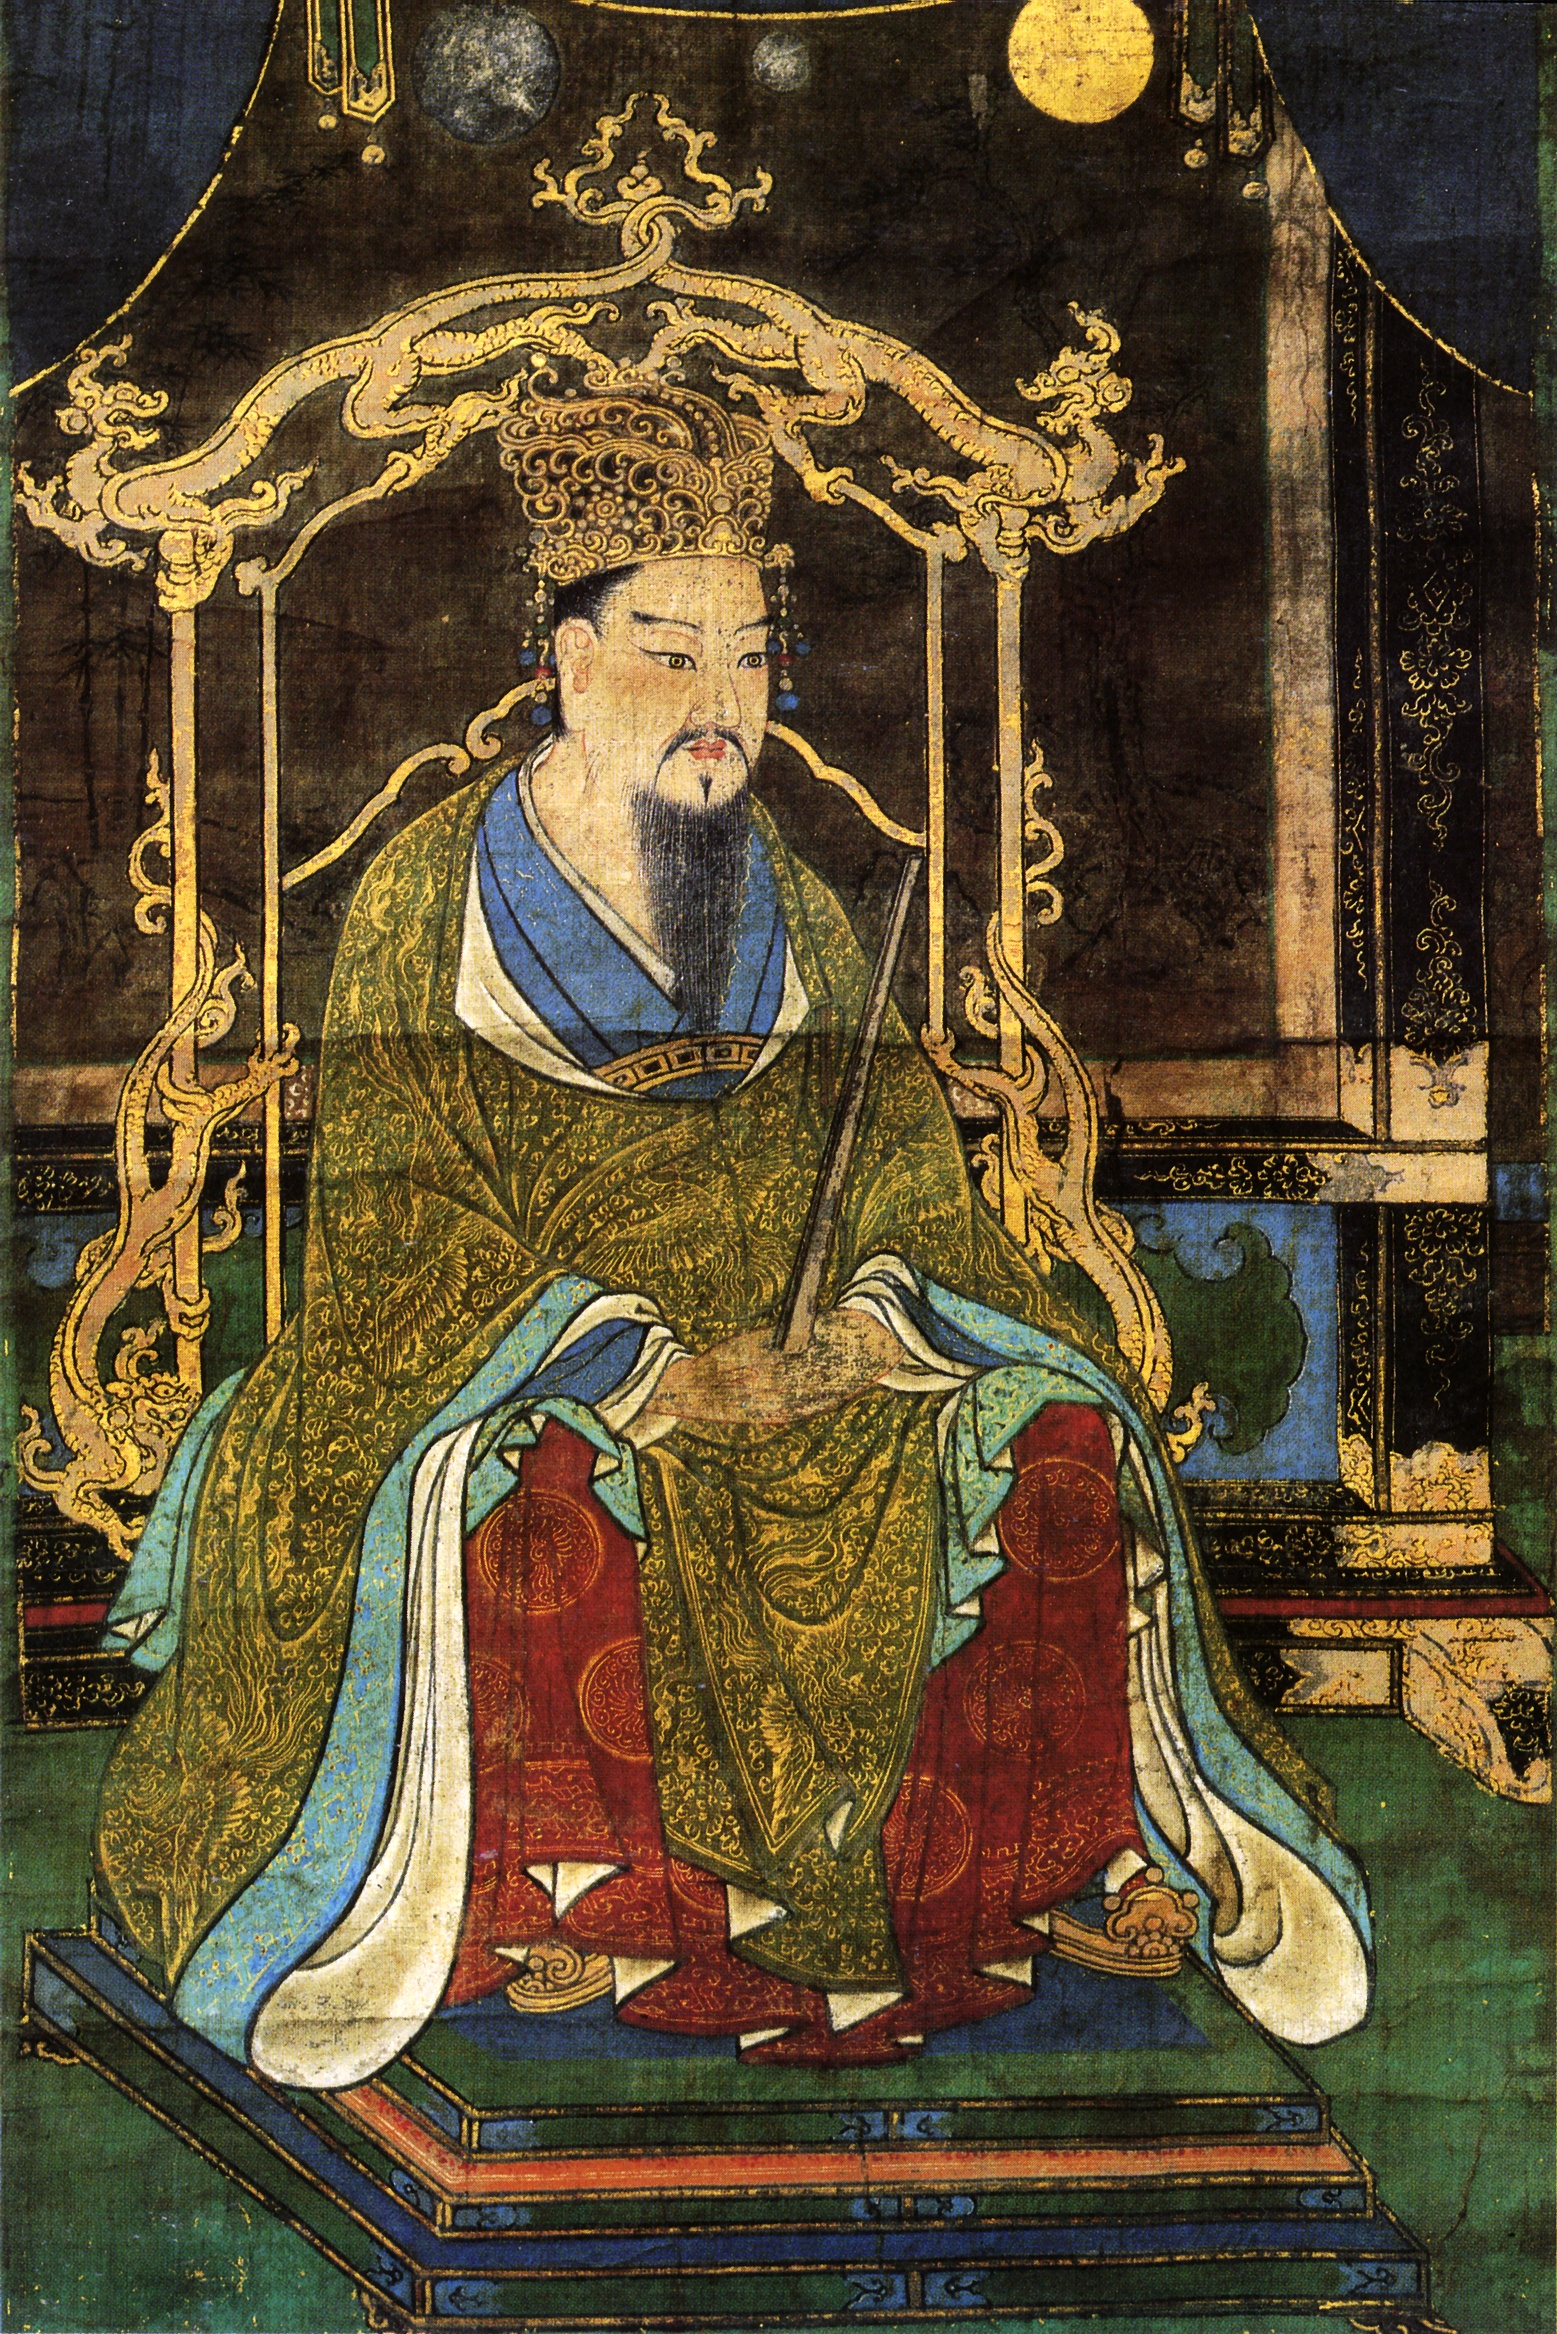
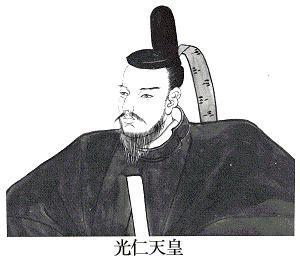
Emperor Kammu’s Big Moves
This site has a great rundown of the Battle of Subuse with diagrams and illustrations – http://emishi-ezo.net/Conquest/Subuse.html


This site has a great rundown of the Battle of Subuse with diagrams and illustrations – http://emishi-ezo.net/Conquest/Subuse.html


Recent Comments