Season 6, Episode 22: The Gempei War Part 4: The Final Countdown
Kiso Yoshinaka and his wife, Tomoe Gozen, at the Battle of Awazu. Source: Public Domain
The Minamoto-allied samurai make their way to the Battle of Ichi-no-Tani. Public Domain
The Battle of Kojima. The Minamoto horsemen are charging through the low tide to take the island fortress. Source: Public Domain
The Battle of Yashima, in which the Taira were goaded into facing the Minamoto forces in the surf. Source: Public Domain
A depiction of the Battle of Dan-no-Ura, the final battle in the Gempei War in which the Taira were unequivocally vanquished. Source: Public Domain
A satellite photo of the Shimonoseki straits which allows you to see just how narrow is the passage of water between Kyushu and Chugoku. Source: Image Science and Analysis Laboratory, NASA-Johnson Space Center, Public domain, via Wikimedia Commons
Season 6, Episode 21: The Rise and Fall of Kiso Yoshinaka
A painting of Kiso Yoshinaka. Source: Public Domain
A painting by Katsukawa Shuntei of The Battle of Kurikara Pass. Note the oxen with torches affixed to their horns in the background. Source: Public Domain
A statue of a bull with torches tied to its horns honoring Kiso Yoshinaka’s victory at Kurikara Pass. Source: Bakkai at Japanese Wikipedia, CC BY 3.0 https://creativecommons.org/licenses/by/3.0, via Wikimedia Commons
Just south of Bitchu Province, which is highlighted in red above, is where the Battle of Mizushima occurred, which is when Kiso Yoshinaka’s martial luck began to run out. Source: Ash_Crow, CC BY-SA 3.0 http://creativecommons.org/licenses/by-sa/3.0/, via Wikimedia Commons
The race across Uji river between Kajiwara Kagesue and Sasaki Takatsuna. Source: Public Domain
Season 6, Episode 20: The Gempei War Part 2: A Reversal of Fortune
Minamoto Yoritomo displays his troops on the eastern side of the Fujigawa river. Mount Fuji is clearly visible in the background. Source: Public Domain
A painting of Taira Koremori, the ill-fated commander who lost the battle of Fujigawa. Source: Public Domain.
A painting of Minamoto Yoritomo, the victor of Fujigawa. Source: Public Domain
Minamoto Yoritomo’s signature, which he would have affixed to correspondences. Source: Public Domain.
A painting of Minamoto Yukiie, whose antics at the battle of Sunomatagawa led to his troops getting slaughtered after the Taira noticed that they were soaking wet. Source: Public Domain
A monument at the alleged site of the battle of Sunomatagawa.
Season 6, Episode 19: The Gempei War Part 1: An Ill-Fated Uprising
源平合戦
“Gempei Kassen,” which translates to “The Gempei War.” The first two characters are from Minamoto and Taira respectively.
A painting of Minamoto Yorimasa. Source: Public Domain
A depiction of Prince Mochihito, who initiated the Gempei War. Source: Public Domain
Byodo-In, or “The Phoenix Temple,” which miraculously has survived in its original form to this day. This is where Minamoto Yorimasa fled once the First Battle of Uji was lost. Source: Oilstreet, CC BY-SA 3.0 https://creativecommons.org/licenses/by-sa/3.0, via Wikimedia Commons
A depiction of the First Battle of Uji. Note the warrior monks crossing the bare beams where the planks have been torn out. Source: Public Domain
Minamoto Yorimasa preparing to commit the first known Seppuku. His dagger is drawn and he has removed his armor. Source: Public Domain.
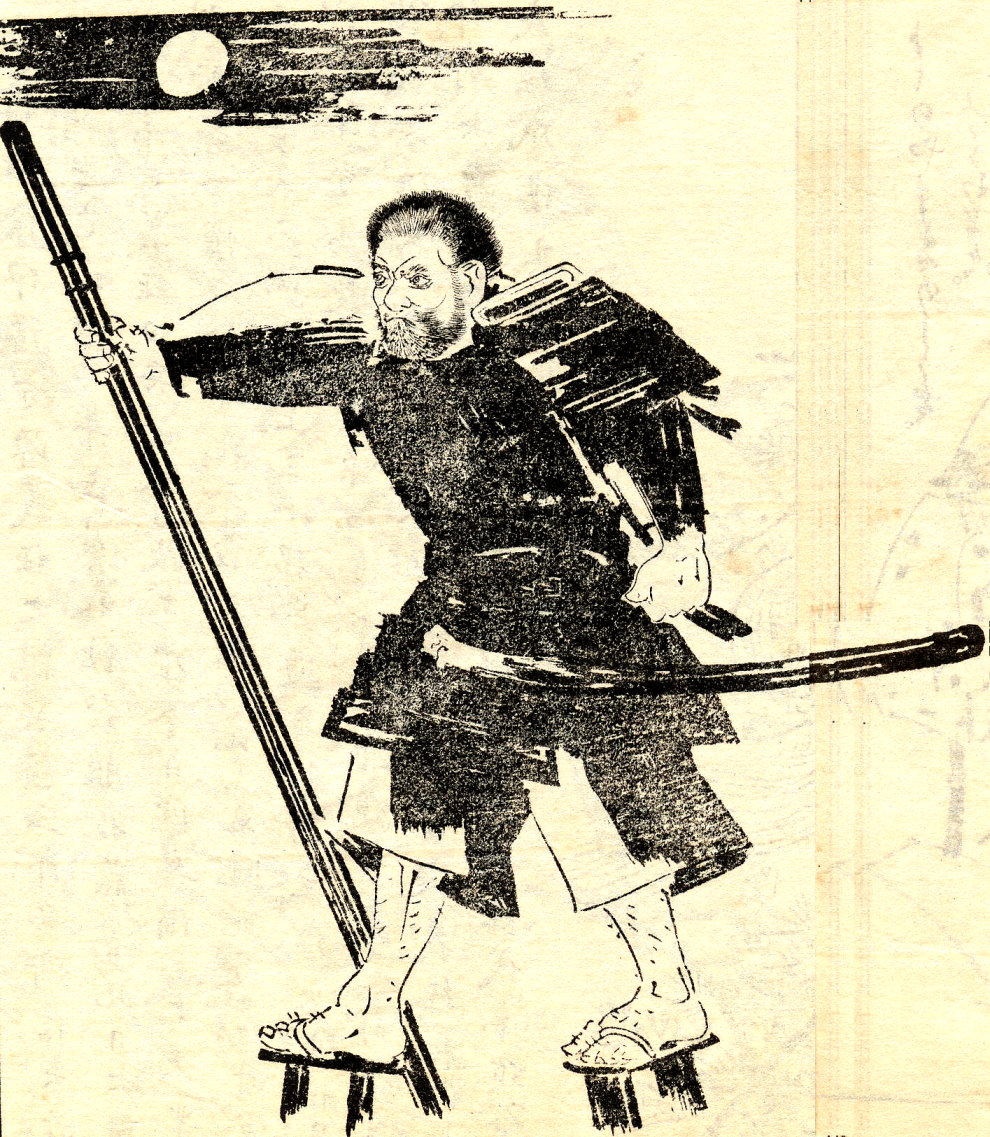
A depiction of Benkei, whose already considerable height was made more intimidating by the stilt sandals he preferred to wear. Source: Public Domain
Benkei and Yoshitsune enoying the spring sakura (cherry blossoms) together. Benkei is kneeling on the left. Source: Public Domain
A famous painting of Minamoto Yoshitsune and Benkei’s duel on the Goto Bridge in Heian-kyo. Source: Public Domain
A rather cute statue on modern-day Gojo Bridge depicting Benkei and Minamoto Yoshitsune’s duel. Source: Another Believer, CC BY-SA 4.0 https://creativecommons.org/licenses/by-sa/4.0, via Wikimedia Commons
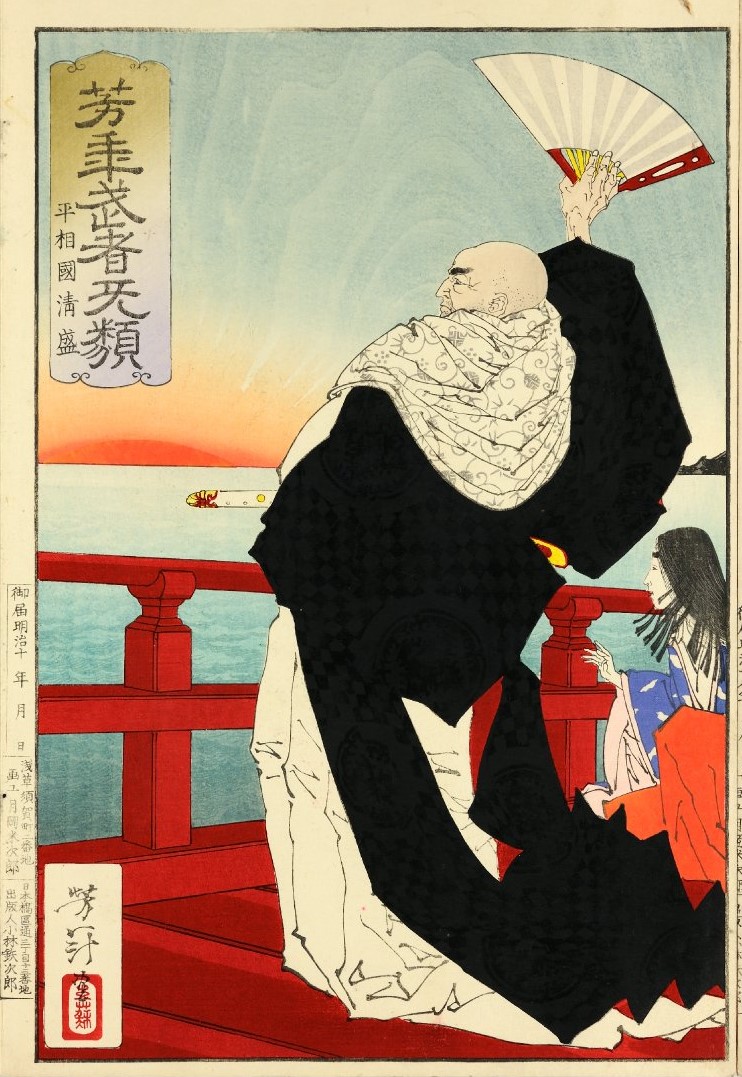
A painting of Taira Kiyomori completed long after his lifetime. In this image, he is attempting to command the sun to stay in the sky so that construction can continue at Itsukushima Shrine. Source: Public Domain
Itsukushima Shrine, shown at high tide when the temple complex appears to float upon the water. Source: JohnnyOneSpeed, CC BY-SA 3.0 https://creativecommons.org/licenses/by-sa/3.0, via Wikimedia Commons
The Honden (Main Hall) of the Itsukushima Shrine, which displays the double-roofed style of Shinden-Zukuri. Source: scarletgreen from Japan, CC BY 2.0 https://creativecommons.org/licenses/by/2.0, via Wikimedia Commons
The bridge which connects the shrine to Miyajima, shown here at low tide. Source: David Ooms from Belgium, CC BY 2.0 https://creativecommons.org/licenses/by/2.0, via Wikimedia Commons
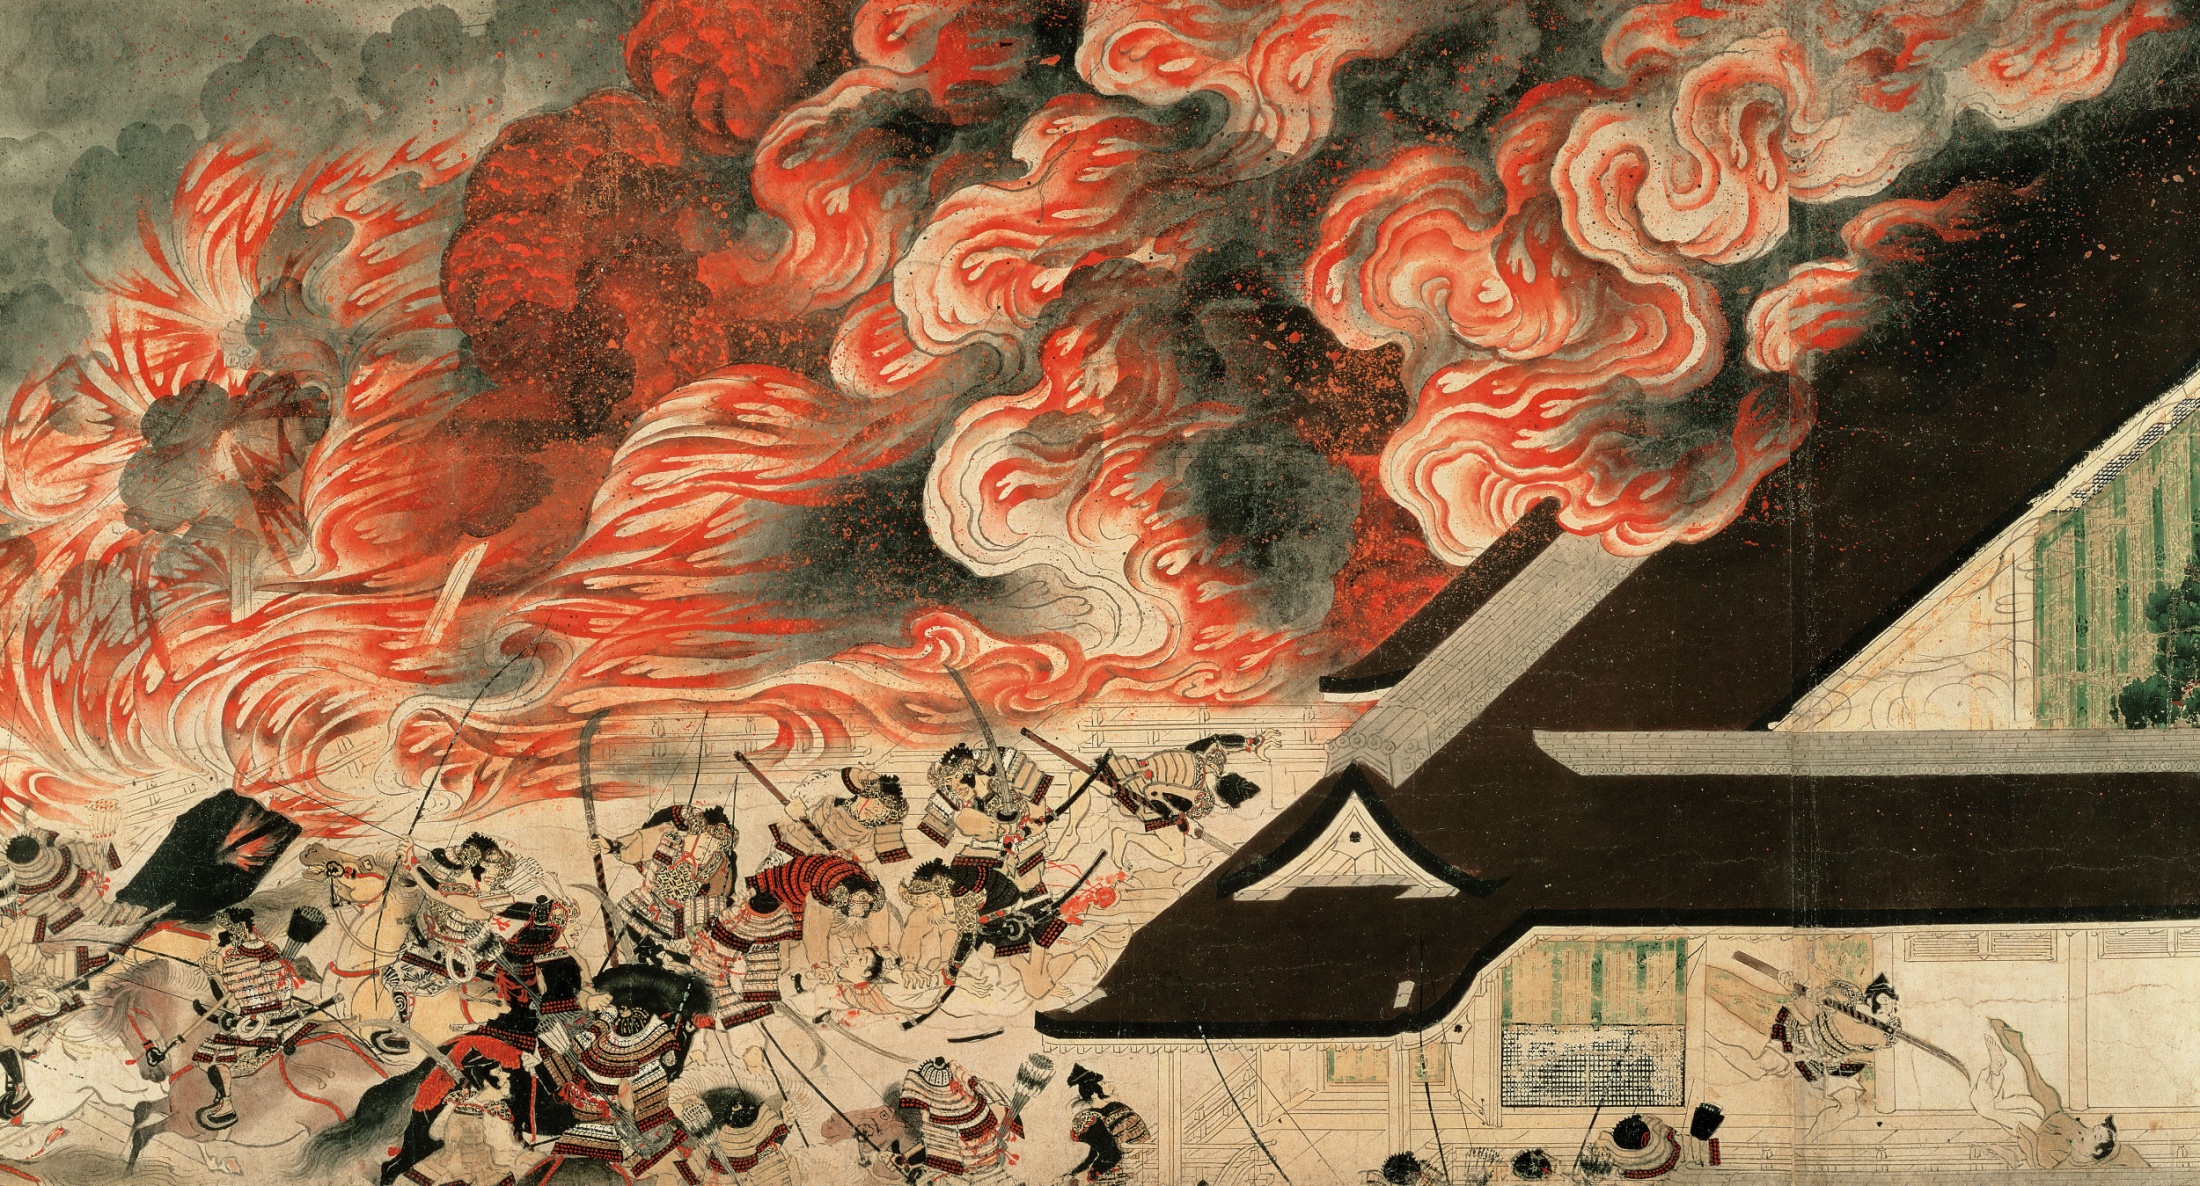
The night attack on the Sanjo Palace. The Minamoto set fire to the building after securing the Retired Emperor. Public Domain
As the caption says, this is a depiction of retired Emperor Go-Shirakawa’s abduction at the end of 1159. He can be seen in the sedan wagon looking out very anxiously. Along with the arrest of sitting Emperor Nijo, this would incite the Heiji Rebellion. Public Domain
Emperor Nijo’s escape from Minamoto custody. If you look closely, you can see Nijo-Tenno inside the sedan wagon dressed as a lady-in-waiting. Public Domain
A depiction of the battle at Rokuhara, where the Minamoto samurai were defeated by the Taira. Public Domain
Taira Kiyomori, the man who would emerge from the Heiji Rebellion as the most powerful samurai, and arguably the most powerful person, in all of Japan. Public Domain
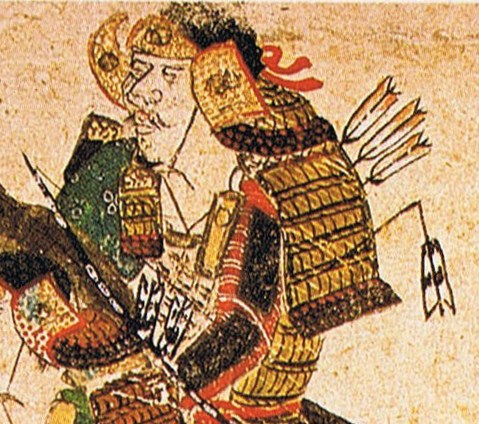
A painting of Minamoto Yoshitomo, who joined with Emperor Go-Shirakawa’s forces against his father, Minamoto Tameyoshi. Note the broken arrow sticking out of his shoulder pauldron. Public Domain
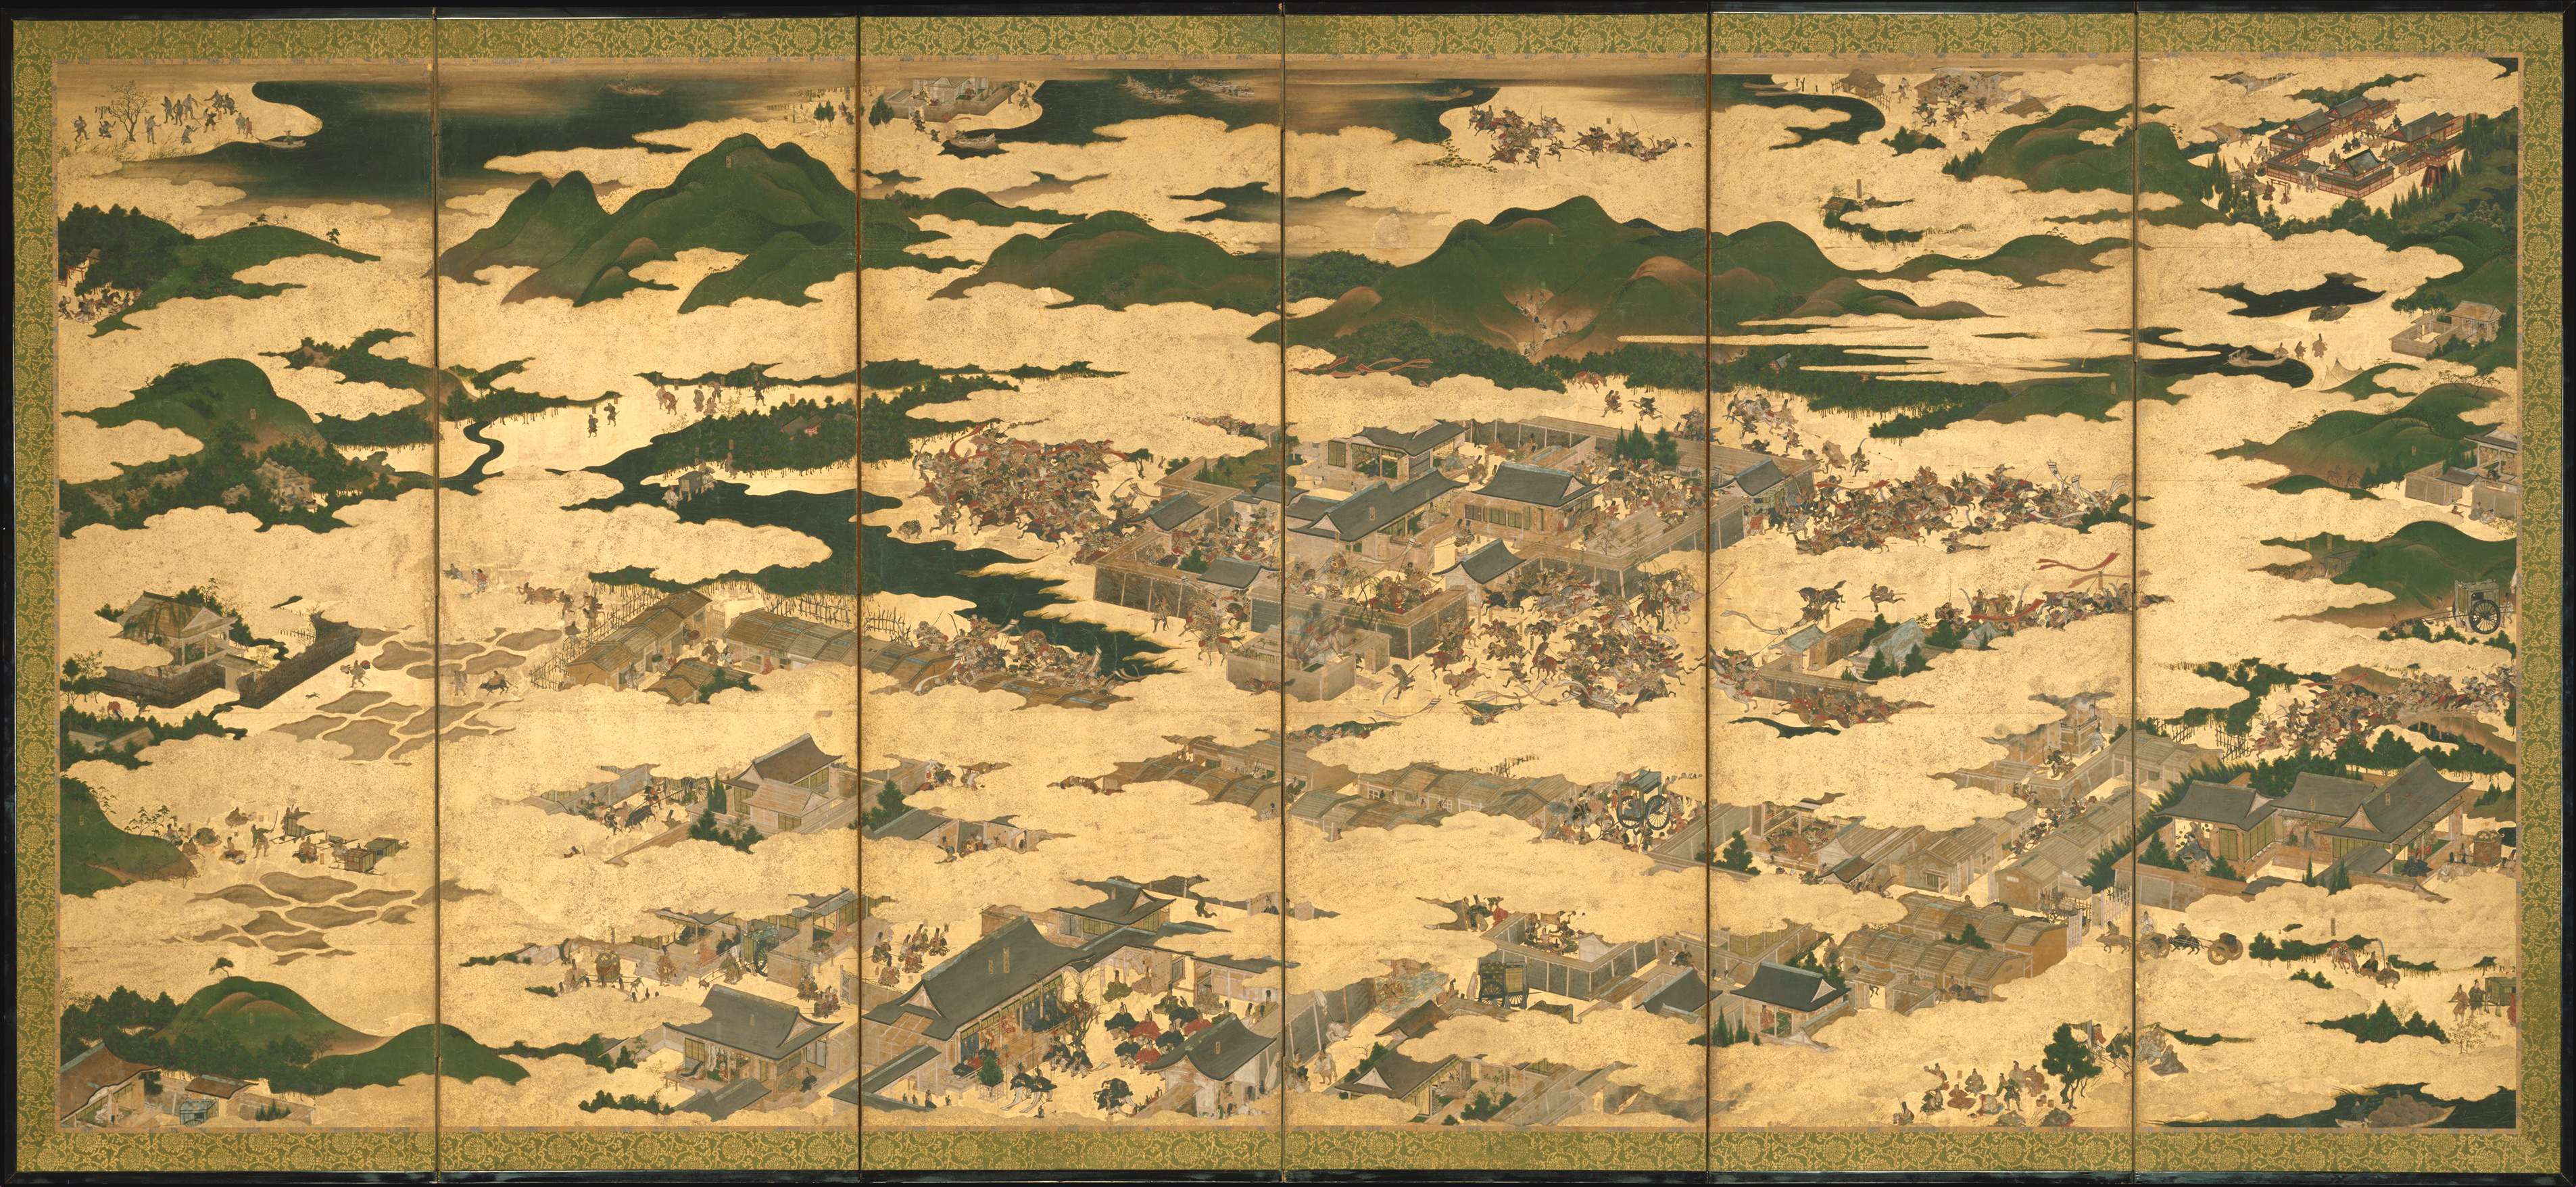
A screen painting of the Hogen Rebellion, probably painted during the later Edo Period, likely in the1600s. If you right-click–>Open Image in a New Tab, you can zoom in and see the charging Samurai fighting it out around the Shirakawa-den Palace. Public Domain
A portrait of Minamoto Yoshitomo’s brother, Minamoto Tametomo. A legendary archer, his left arm was purposefully crippled after the Hogen Rebellion and he was exiled to a small island. Public Domain
Another depiction of Minamoto Tametomo, this time drawing his bow and displaying a particularly Japanese style of archery, raising the bow above his head and then lowering it as he takes aim and draws the string back. Public Domain
Season 6, Episode 13: Emperor Shirakawa’s Loophole
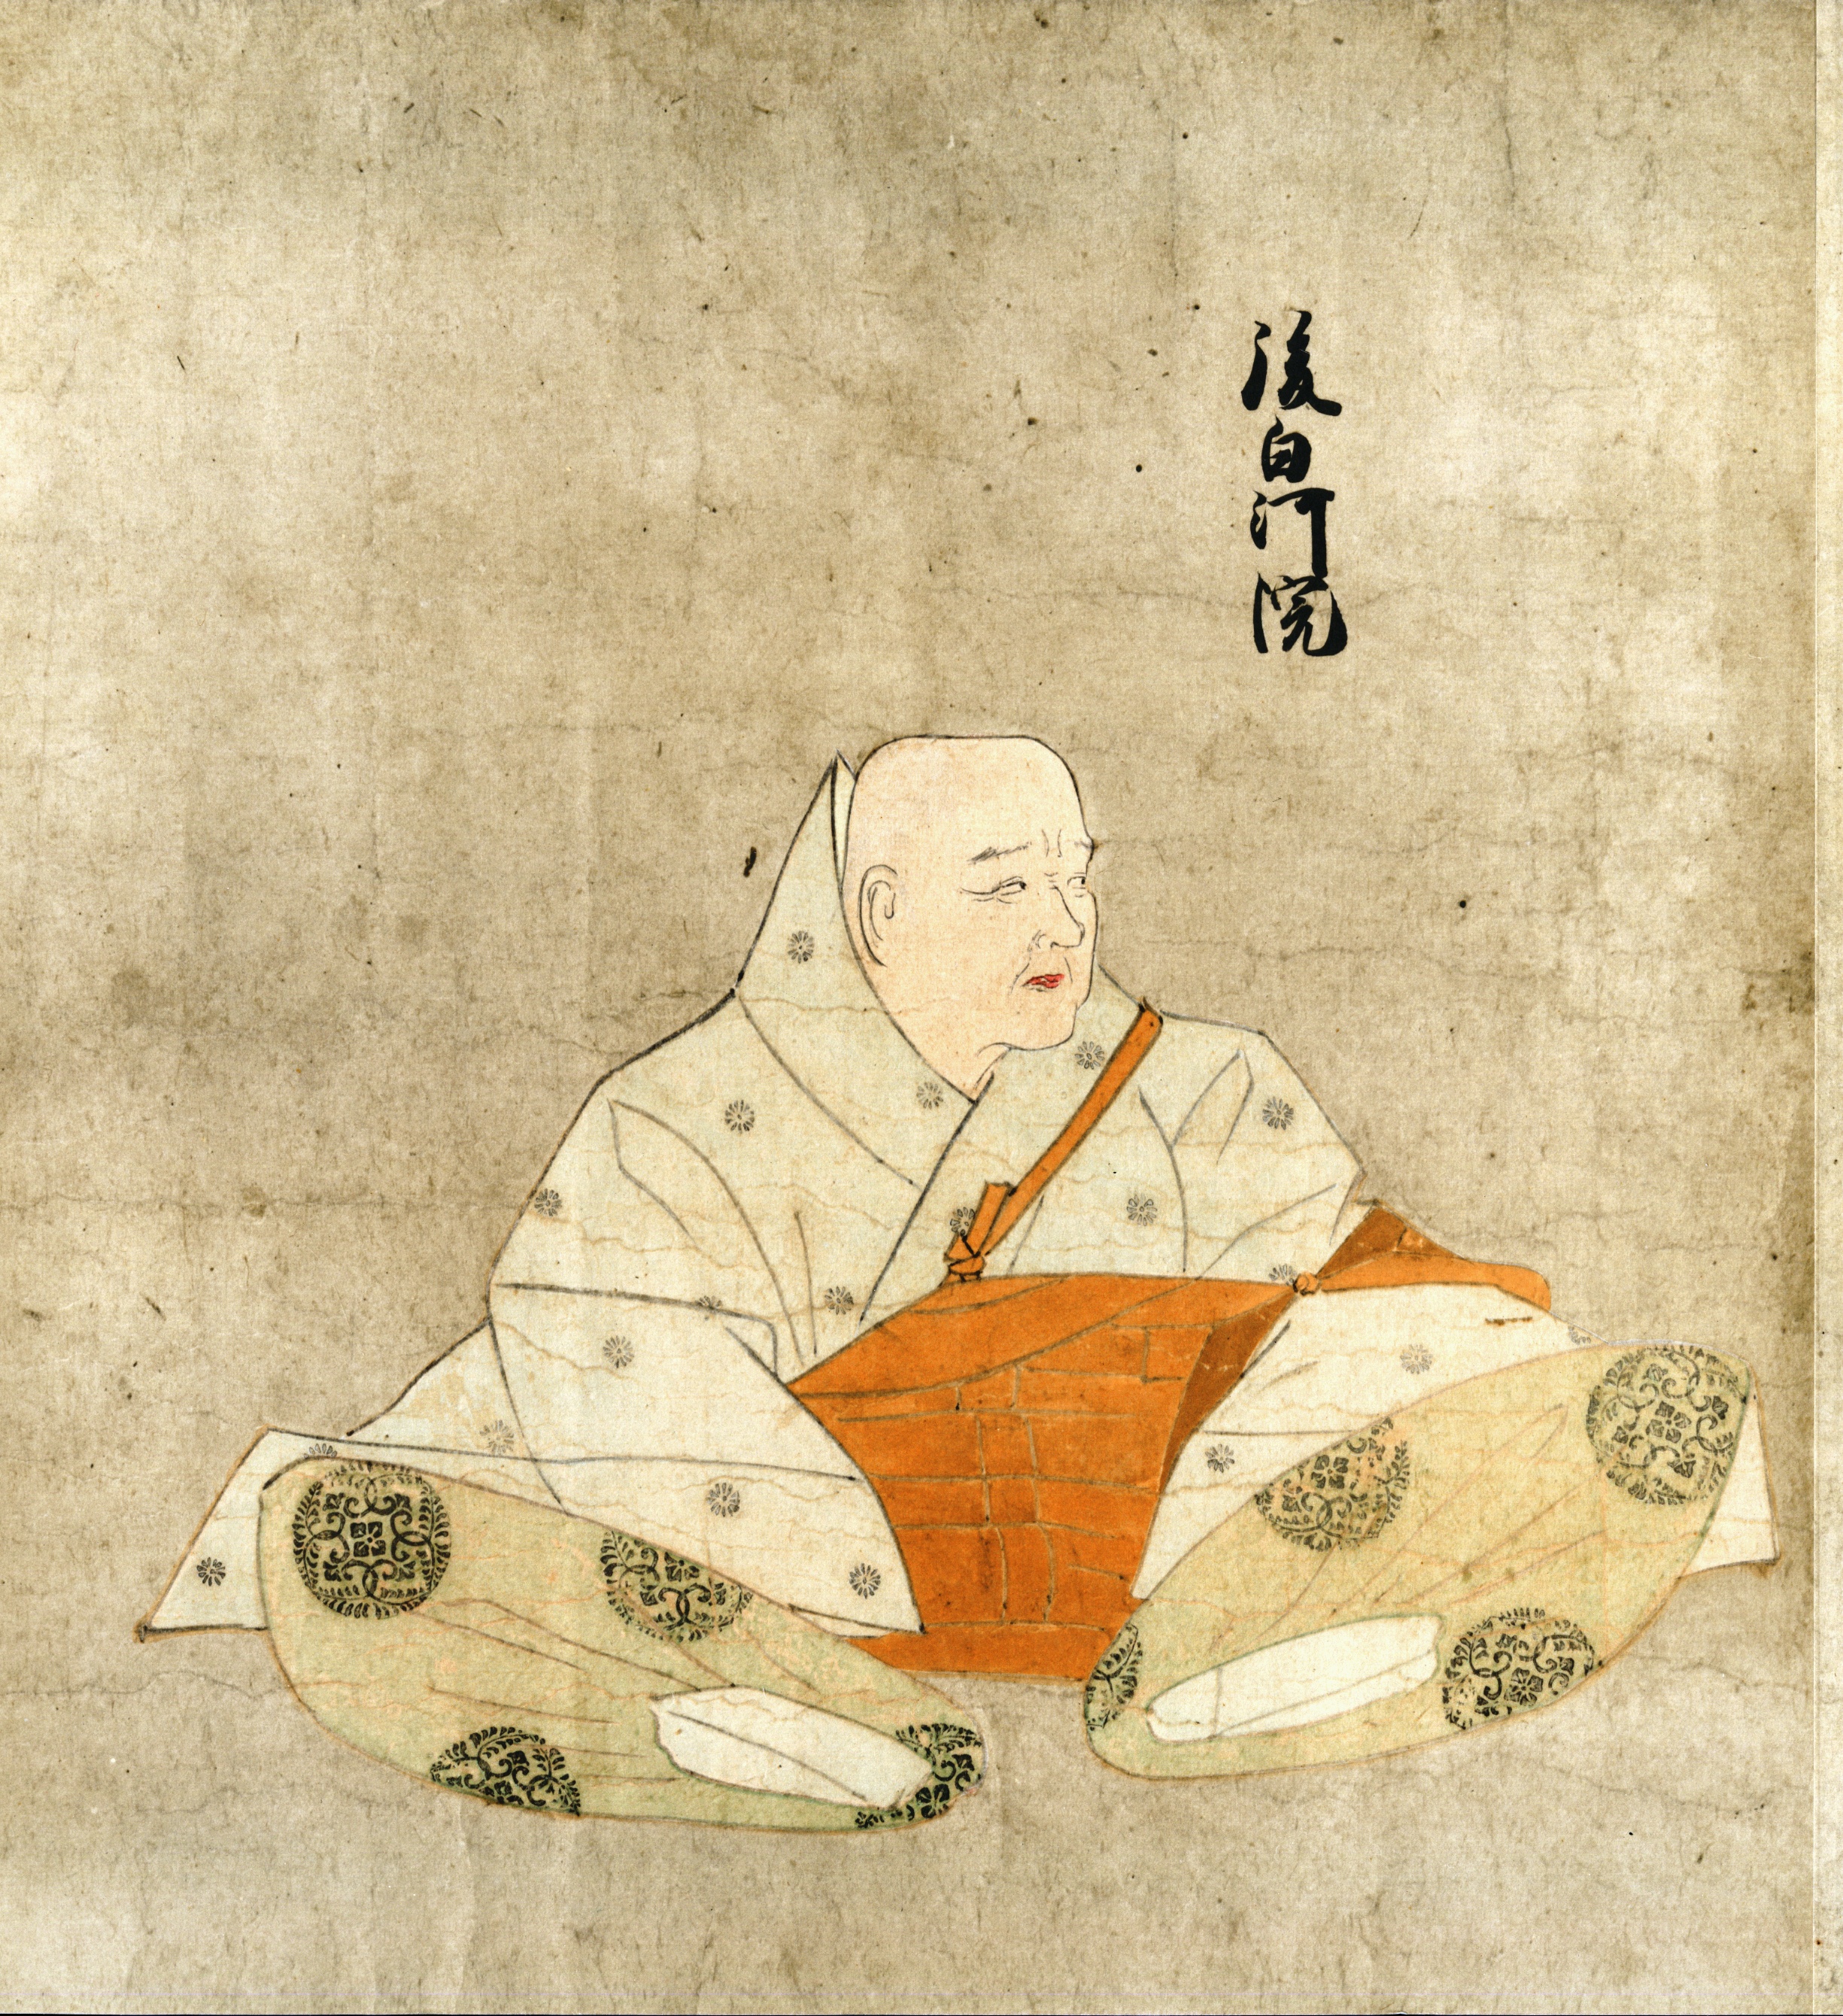
A depiction of Emperor Shirakawa in monk’s habit. It would become common to portray retired emperors wearing religious clothing to reflect their status as holy rulers. Public Domain
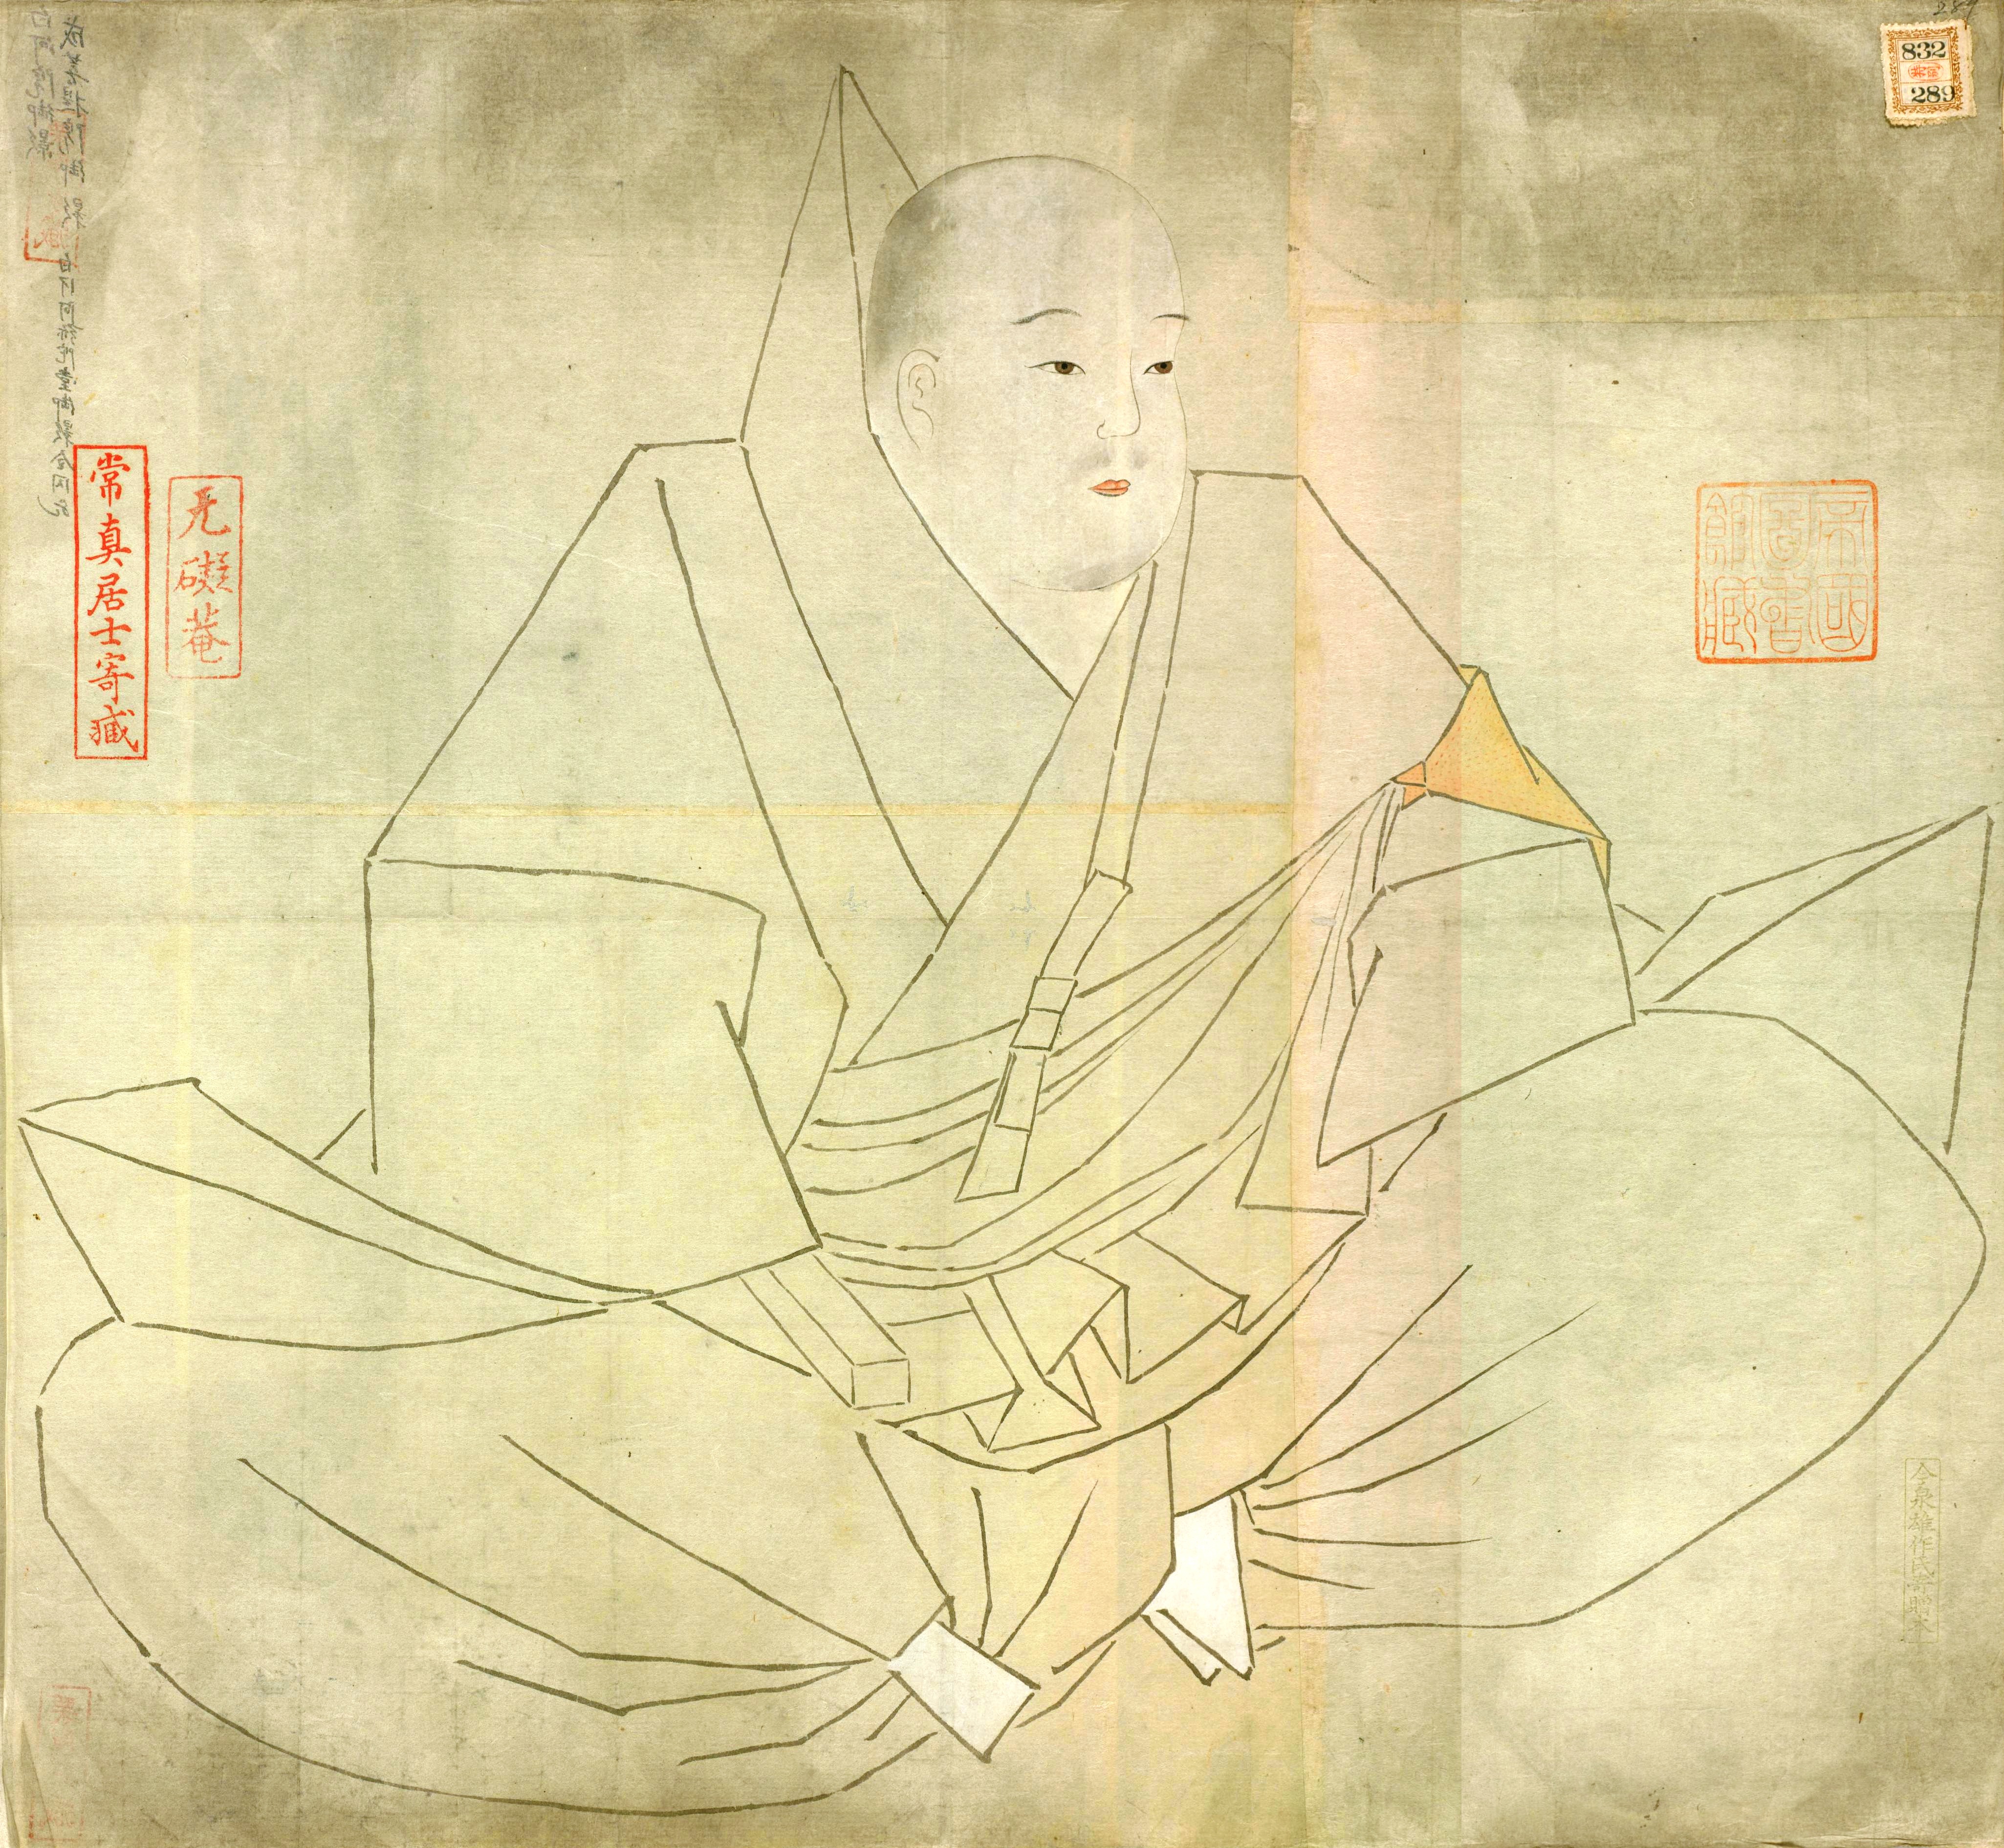
Emperor Toba, also wearing monk’s habit. Public Domain


Recent Comments